Are you thinking about upgrading your kitchen with a new kitchen sink and taps? Maybe you’ve noticed your current sink is showing its age, or perhaps you’re simply ready for a fresh look in the heart of your home? Whatever your reason, tackling a kitchen sink installation can feel overwhelming at first glance.
The good news is that changing a kitchen sink doesn’t have to be a headache. Whether you’re a confident DIY enthusiast or someone who prefers leaving things to the professionals, understanding the process helps you make informed decisions. Brisbane homeowners, in particular, benefit from knowing what’s involved—our subtropical climate and local plumbing requirements mean there are specific considerations worth keeping in mind.
In this guide, we’ll walk you through everything you need to know about sink installation kitchen projects. From choosing the right sink type to fitting a kitchen mixer tap, we’ve got you covered. You’ll learn about preparation steps, the actual installation process, costs involved, and common mistakes to avoid. By the end, you’ll feel confident about whether to grab your tools or call in a local plumber.
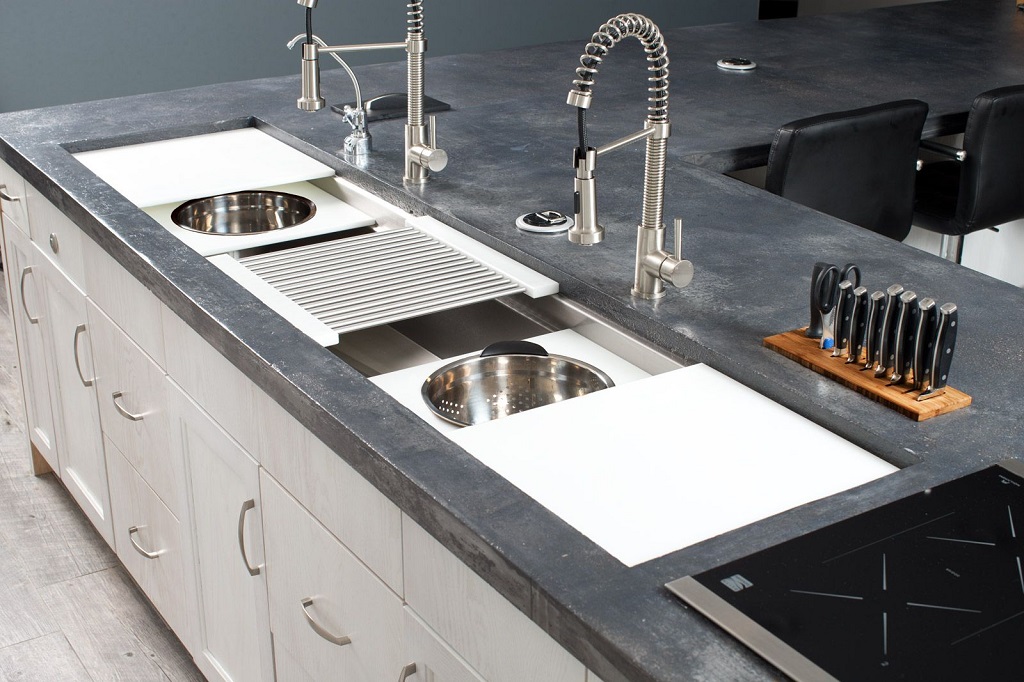
Types of Kitchen Sinks: Choosing the Right One for Your Home
Before diving into installation, you need to pick the perfect sink. This decision affects both the installation process and your daily kitchen experience.
Undermount vs Top Mount Sinks
Top mount sinks (also called drop-in sinks) sit on top of your benchtop with a visible rim. They’re generally easier to install and work well with laminate surfaces. Undermount sinks, on the other hand, attach beneath the benchtop for a sleeker appearance. They’re brilliant for stone or solid surface benchtops but require more precise installation.
Single Bowl vs Double Bowl Options
Single bowl sinks offer more space for washing large pots and baking trays. Double bowl configurations provide flexibility—you can wash in one side while rinsing in the other. Consider your cooking habits and family size when making this choice.
Popular Materials for Australian Kitchens
Stainless steel remains the most popular choice for Brisbane kitchens due to its durability and heat resistance. Granite composite sinks handle our harsh sun without fading, while ceramic options add a classic touch. Each material has different care requirements and price points worth considering.
Tools and Materials You’ll Need for Kitchen Sink Installation
Gathering your supplies beforehand makes the job run smoothly. You’ll need an adjustable wrench, plumber’s putty, silicone sealant, a bucket, towels, and a screwdriver set. A torch helps when working in dark under-sink spaces.
For plumbing connections, ensure you have flexible tap connectors, new waste fittings, and PTFE tape. If you’re fitting a new kitchen mixer tap, check that it comes with all necessary mounting hardware. Many Brisbane hardware stores stock complete sink installation kits that include most essentials.
Don’t forget safety gear. Protective gloves prevent cuts from sharp sink edges, and safety glasses protect your eyes when working underneath the benchtop. Having everything ready saves multiple trips to the shops mid-project.
How to Prepare for Changing a Kitchen Sink
Proper preparation prevents problems later. Take your time with these steps—rushing often leads to costly mistakes.
Measuring Your Existing Sink Space
Measure your current sink opening carefully, noting length, width, and depth. If you’re keeping the same size, great. If you’re changing dimensions, check whether your benchtop can accommodate modifications. Some changes require professional cutting services.
Turning Off Water Supply Safely
Locate your isolation valves under the sink and turn them clockwise until fully closed. No isolation valves? You’ll need to shut off the mains. Always test by turning on the tap—water should stop flowing within seconds.
Clearing the Workspace
Remove everything from under and around the sink. Lay down towels to catch any residual water. Disconnect your dishwasher if it’s connected to the sink waste. A clear workspace makes the job safer and more efficient.
Step-by-Step Guide to Changing Out Your Kitchen Sink
Now for the main event. Follow these steps carefully for a successful kitchen sink replacement.
Removing the Old Sink
Disconnect the water supply lines using your adjustable wrench. Have your bucket ready—there’s always some water left in the pipes. Next, remove the drain assembly and disconnect the P-trap. For top mount sinks, unclip the mounting brackets underneath. Undermount sinks need their adhesive carefully cut away.
Preparing the Benchtop for Your New Kitchen Sink
Clean the benchtop surface thoroughly, removing old silicone and debris. Check for any damage that needs addressing. If your new sink requires a different opening size, now’s the time for modifications—consider hiring a professional for cutting stone benchtops.
Positioning and Securing the New Sink
Apply plumber’s putty or silicone around the drain opening. For top mount sinks, run a bead of silicone around the rim before lowering it into place. Undermount sinks need adhesive and clips according to manufacturer instructions. Press firmly and wipe away excess sealant.
Connecting Plumbing and Drainage
Attach the tap connectors to your water supply lines, ensuring washers are correctly positioned. Connect the waste pipe to your P-trap. Hand-tighten first, then give an extra quarter turn with your wrench. Avoid overtightening—this damages seals and causes leaks.
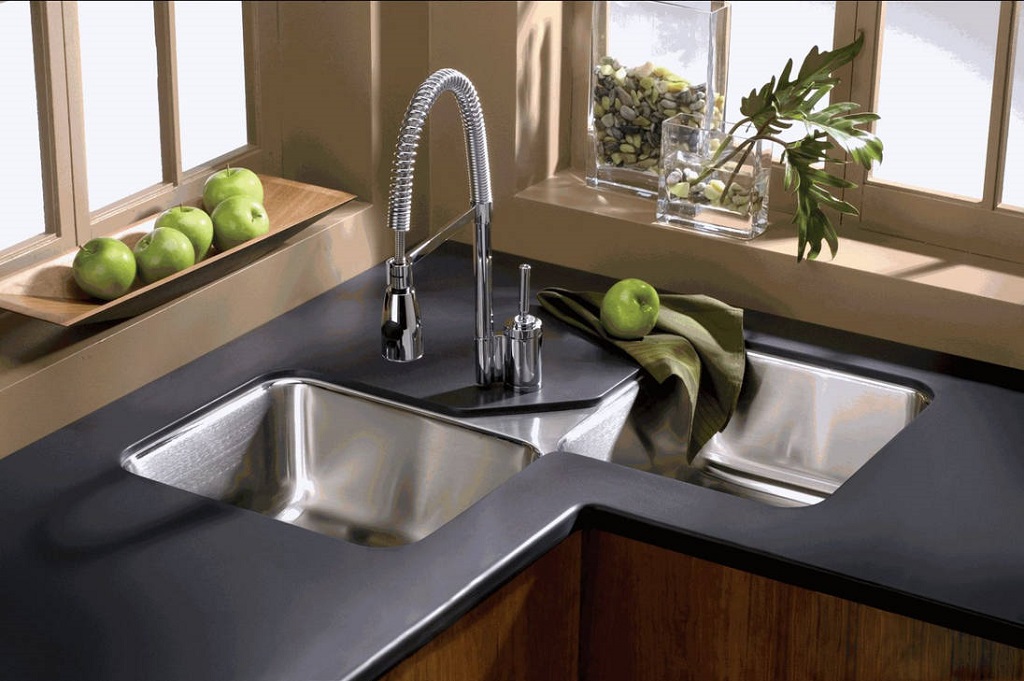
Fitting a Kitchen Mixer Tap: A Complete Walkthrough
Fitting a kitchen mixer tap is often combined with sink installation. Here’s how to get it right.
How Do You Fit a New Kitchen Mixer Tap?
Most modern mixer taps come with clear instructions. Generally, you’ll feed the tap through the sink’s pre-drilled hole, secure it from below with the provided mounting bracket, and connect the hot and cold supply lines. Flexible connectors make this process much simpler than older rigid pipe setups.
Fitting a New Kitchen Mixer Tap to Your Sink
Position the tap base plate (if included) and apply any supplied seals. Thread the tap body through the hole, keeping it straight. Underneath, slide on the rubber washer, metal bracket, and tightening nut. Hold the tap in your desired position while securing from below.
Testing for Leaks After Installation
Turn the water supply back on slowly. Check every connection point for drips—around the tap base, at supply line joints, and along the waste pipe. Run water for several minutes and inspect again. Even tiny leaks worsen over time, so address them immediately.
Can I Install a Kitchen Sink Myself or Do I Need a Plumber?
This is a question many Brisbane homeowners ask. In Queensland, you can legally perform some plumbing work yourself, but certain tasks require a licensed plumber. Basic sink installation often falls into DIY territory, but connecting to mains water supply or making significant drainage changes needs professional involvement.
If you’re not confident with plumbing connections, calling a plumber makes sense. A botched installation can lead to water damage, mould issues, and costly repairs. Plus, professional work often comes with guarantees for peace of mind.
Cost to Install Kitchen Sink Plumbing in Brisbane
Understanding costs helps you budget effectively for your project.
What Factors Affect Kitchen Sink Installation Costs?
Several factors influence your total cost to install kitchen sink plumbing. Sink type and material, complexity of plumbing changes, and benchtop modifications all play a role. Labour rates in Brisbane typically range from $80-$150 per hour for qualified plumbers.
Kitchen Sink Repair Cost: What to Expect
Minor repairs like fixing a leaky tap or clearing a blocked drain usually cost between $100-$250. More significant kitchen sink repair costs, such as replacing damaged pipes or seals, can reach $300-$500 depending on accessibility and parts required.
When Is Kitchen Sink Replacement More Cost-Effective Than Repair?
If repairs exceed 50% of replacement cost, or if your sink shows multiple issues, replacement often makes better financial sense. Older sinks may also lack modern features like sound dampening or better drainage that improve daily use.
Common Kitchen Sink Installation Mistakes to Avoid
Avoid these frequent errors: overtightening connections (causes cracks), skipping sealant (leads to water damage), ignoring manufacturer instructions (voids warranties), and rushing measurements (results in poor fit). Taking your time prevents headaches later.
How Long Does It Take to Replace a Kitchen Sink?
An experienced DIYer typically completes sink installation in 2-4 hours. Professionals often finish in 1-2 hours. Complex installations involving benchtop modifications or significant plumbing changes take longer—sometimes a full day.
Maintaining Your New Kitchen Sink and Taps
Keep your investment looking great by cleaning regularly with appropriate products for your sink material. Avoid harsh chemicals on stainless steel, and wipe down your mixer tap to prevent water spots. Check connections annually for any developing issues.
Enjoying Your New Kitchen Sink Installation
Installing a new kitchen sink and taps transforms your kitchen’s functionality and appearance. We’ve covered the entire journey—from choosing the right sink type through to ongoing maintenance.
Whether you’ve decided to tackle this project yourself or hire a Brisbane plumber, you’re now equipped with the knowledge to make smart decisions. Remember, proper preparation and patience are your best tools for success.
Your new sink will serve you well for years to come. Enjoy the satisfaction of a job well done, and don’t hesitate to reach out to local professionals if you encounter any challenges along the way. Happy cooking in your upgraded kitchen!


Leave a comment